
What You Will Need
- Blank Greeting Card: size of your choice
- Watercolor paper or Card Stock
- Watercolor/Gouache Paint
- Your favorite rubber stamps
- Ink Pad
- Paper-cutter or Scissors
- Paint Brush & Water
- Your favorite glue for paper (I used stick glue)
- Micron Pen or similar
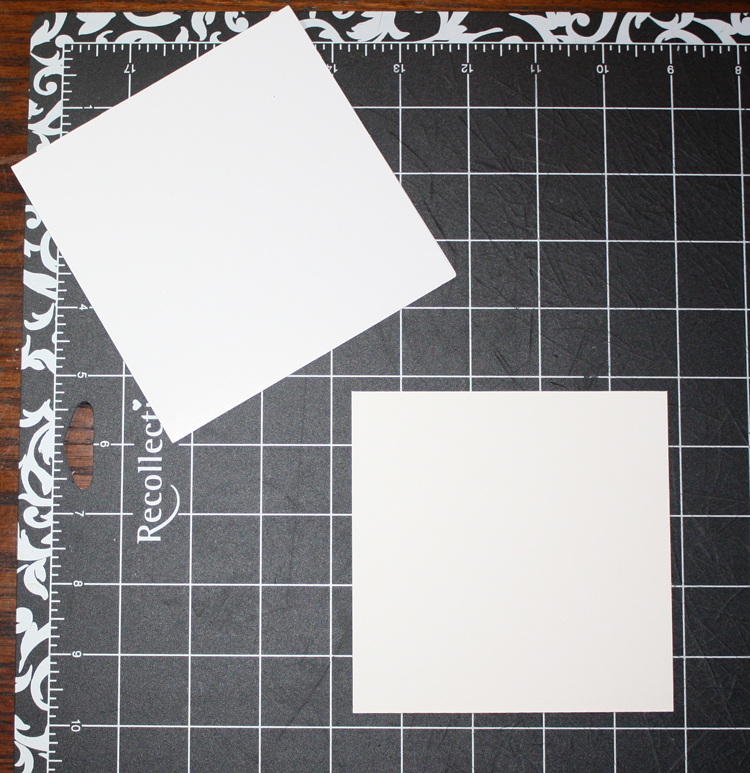
First, you want to have a blank greeting card. The size is completely up to you. In this case I used 4.75in x 4.75in Square Cards that I purchased at Hobby Lobby. These cards just happened to be glossy, so for what I wanted to do I needed paper that would work well with watercolor type paint. I just used some bristol board I had on hand, which is just type of thick art paper that can be used with inks, charcoals etc. But you can use actual watercolor paper if you wish.
Next, you will cut the watercolor paper so that it is just a little bit smaller than the actual card. This will leave a small white border around or watercolor paper once it is finished.
Next, you will cut the watercolor paper so that it is just a little bit smaller than the actual card. This will leave a small white border around or watercolor paper once it is finished.
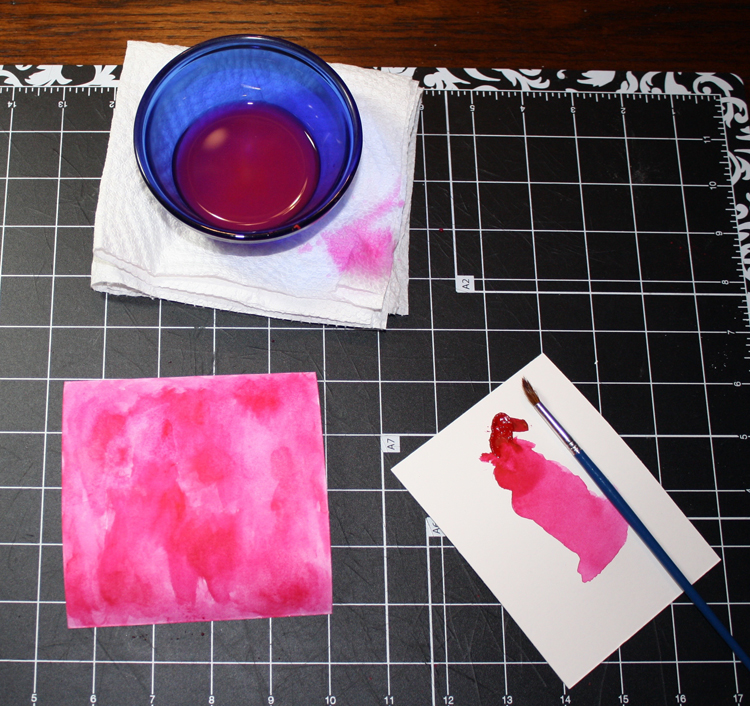
Here's the fun part! Pick out one (or more if you wish!) color of watercolor or gouache paint that you are going to use for your background. To achieve the different levels of color, use more or less water. The more watered down your paint, the lighter the color will be on the paper. Make sure to cover the whole piece, blending your shades together.
Now you will obviously want to let this piece dry completely before you continue on. Depending on the type of paper you used for this part, you'll find that most types will start to curl up due to being wet. So to fix this, when the paper is completely dry and not before, place a heavy book or other flat item on top of your watercolor paper for a few mins to flatten it out. Or you can slightly bend the paper with your hands in the opposite direction. You definitely want to wait until its dry before doing this, as you don't want to get paint all over what ever you use to flatten it, or for it to stick to it!
Now you will obviously want to let this piece dry completely before you continue on. Depending on the type of paper you used for this part, you'll find that most types will start to curl up due to being wet. So to fix this, when the paper is completely dry and not before, place a heavy book or other flat item on top of your watercolor paper for a few mins to flatten it out. Or you can slightly bend the paper with your hands in the opposite direction. You definitely want to wait until its dry before doing this, as you don't want to get paint all over what ever you use to flatten it, or for it to stick to it!
Once its completely dry and you have reshaped it, we are ready to move on! Take your favorite paper crafting glue, or in my case my children's glue stick, and attach your watercolor background to your card.
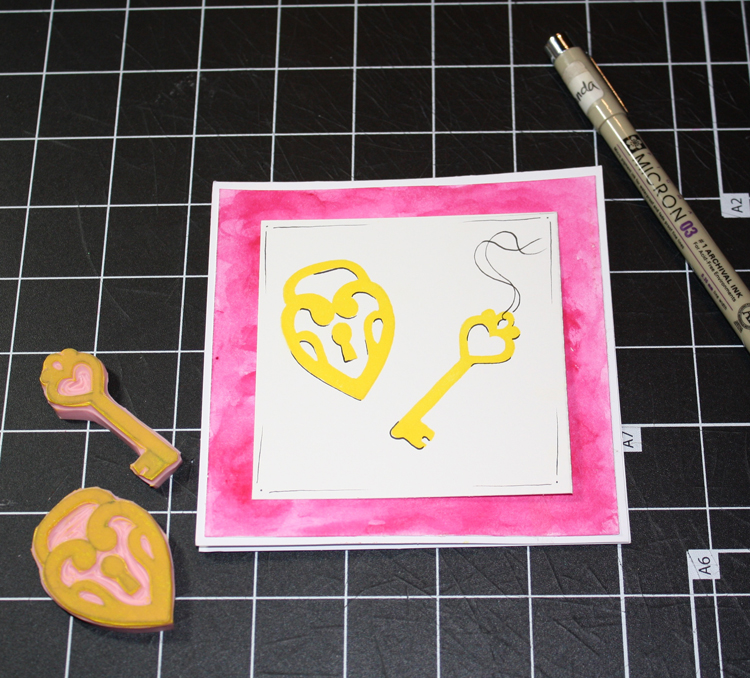
You are now going to cut out another piece of card stock or thicker paper of your choice. How big or how small you make this piece will determine how much of your watercolor background will show, as well as how much space you have to stamp on. Hold it up to your background to get an idea of what it will look like.
With your favorite stamps and ink pad, stamp the blank piece you just cut. For mine, I used my Heart Lock and Key stamps and ColorBox Pigment pad. Let the stamped parts dry or use some embossing powder and a heat tool to get another cool look!
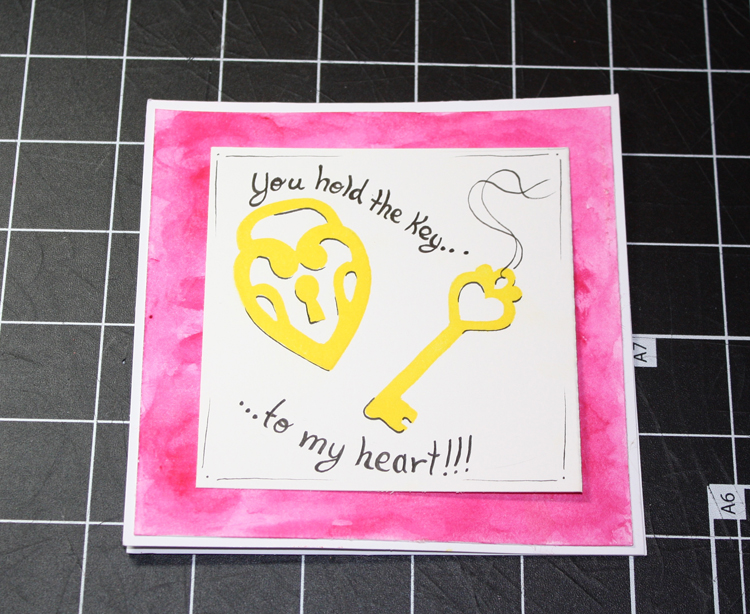
Once its dry, take your Micron Pen or similar and add your finishing touches. I added just a bit of black to my heart and key, to give it a slight 3D effect. I then added the string to the key and the lines on the corners. You can add a phrase or saying with your pens, or you can leave it as is. Using your glue again, attach this piece to the watercolor background, making sure it is centered. Let dry.
And your finished! You now have a cute hand-made card to brighten someone's day!
You are now going to cut out another piece of card stock or thicker paper of your choice. How big or how small you make this piece will determine how much of your watercolor background will show, as well as how much space you have to stamp on. Hold it up to your background to get an idea of what it will look like.
With your favorite stamps and ink pad, stamp the blank piece you just cut. For mine, I used my Heart Lock and Key stamps and ColorBox Pigment pad. Let the stamped parts dry or use some embossing powder and a heat tool to get another cool look!
Once its dry, take your Micron Pen or similar and add your finishing touches. I added just a bit of black to my heart and key, to give it a slight 3D effect. I then added the string to the key and the lines on the corners. You can add a phrase or saying with your pens, or you can leave it as is. Using your glue again, attach this piece to the watercolor background, making sure it is centered. Let dry.
And your finished! You now have a cute hand-made card to brighten someone's day!


 RSS Feed
